Step 1
- Register for a remote access account at https://so.cc.huji.ac.il/rap/
- Write down the username you’re given and the password you’ve chosen.
Step 2
- Access the following webpage in any browser: https://samba.huji.ac.il/download
Step 3
- Type the username created for you in step 1 into the RA Username, followed by “%ra”.
RA Username: [your unique username]%ra - Type the password you created in step 1 into Password field.
- Click Login.
Step 4
- Choose your operating system.
Step 5
Save the installation file on your computer:
- Click Save File.
- Choose the location in which you want to save the file and write it down.
- Double click the file you saved, and then click Run.
Step 6
- Install the program and click Finish.
Step 7
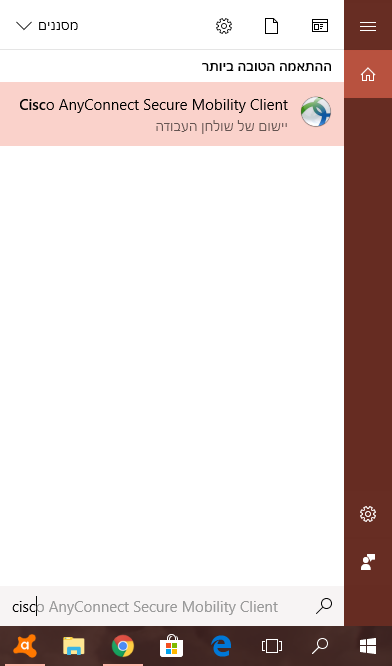
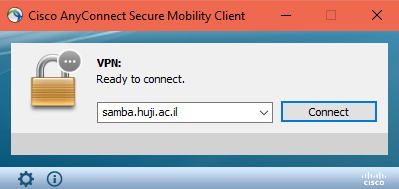
In order to operate the program:
- For Windows: find Cisco -> Cisco AnyConnect VPN Client for Windows in your Start Menu.
- For Mac: search Cisco folder for Macintosh in Finder.
Step 8
- Double click on application to run.
- On the first run of the application, enter the following address: samba.huji.ac.il
- Click Connect.
Step 9
- Enter the username of your remote access account from step 1.
- Enter your password from step 1.
- Click OK.
- The system will remember the address from step 8 and your username. Next time you connect, you will only have to enter your password.
Step 10: Connecting and Disconnecting
- The small icon in the icon bar indicates a connection.
